
Lead tracking is essential for any business, whether a one-man show or a multinational corporation. By understanding where your leads come from and how they interact with your brand, you can adjust your marketing efforts to be more effective. And when it comes to tracking leads and reporting ROI, opt-in forms are a powerful tool.
In fact, 97% of B2B and B2C businesses claim content marketing is part of their overall marketing strategy.
And with good reason: content marketing generates three times as many leads as outbound marketing and costs 62% less.
But if you’re not tracking your leads, you’re not getting the full picture of your content marketing ROI.
So how can you start tracking leads with opt-in forms?
There are a variety of opt-in forms you can use, from pop-ups to sidebar forms.
These forms allow visitors to sign up for your mailing list or product updates and provide essential contact information. Once you have the contact information, you can start tracking the impact of your content marketing efforts.
Here are the five steps to get started!

1) Create a lead magnet
The first step is to create a lead magnet. A good way to get started with this would be by creating something your audience will find valuable, such as an ebook or white paper (depending on the type of business).
You offer your audience this in exchange for their contact information.
I love using Canva to create lead magnets!
The perfect lead magnet has these key elements:
Relevant to the content of your blog
Relevancy is key when creating a lead magnet. If it’s not relevant to the blog post it’s attached to, people are less likely to sign up for it.
For example, if you have a blog post about social media marketing tips, your lead magnet could be an ebook with even more social media tips.
Offers value to the reader
Your lead magnet should offer value to the reader and solve a problem. It should be something that they would be otherwise willing to pay for.
Easy to download or access
Don’t forget that your lead magnet should be easy to download or access.
If it’s a PDF, make sure it’s a small file size so that people don’t have to wait too long to download it. If it’s an ebook, make sure it is easy to access after signing up.
Checklists and printables should be easy to print or download as well.
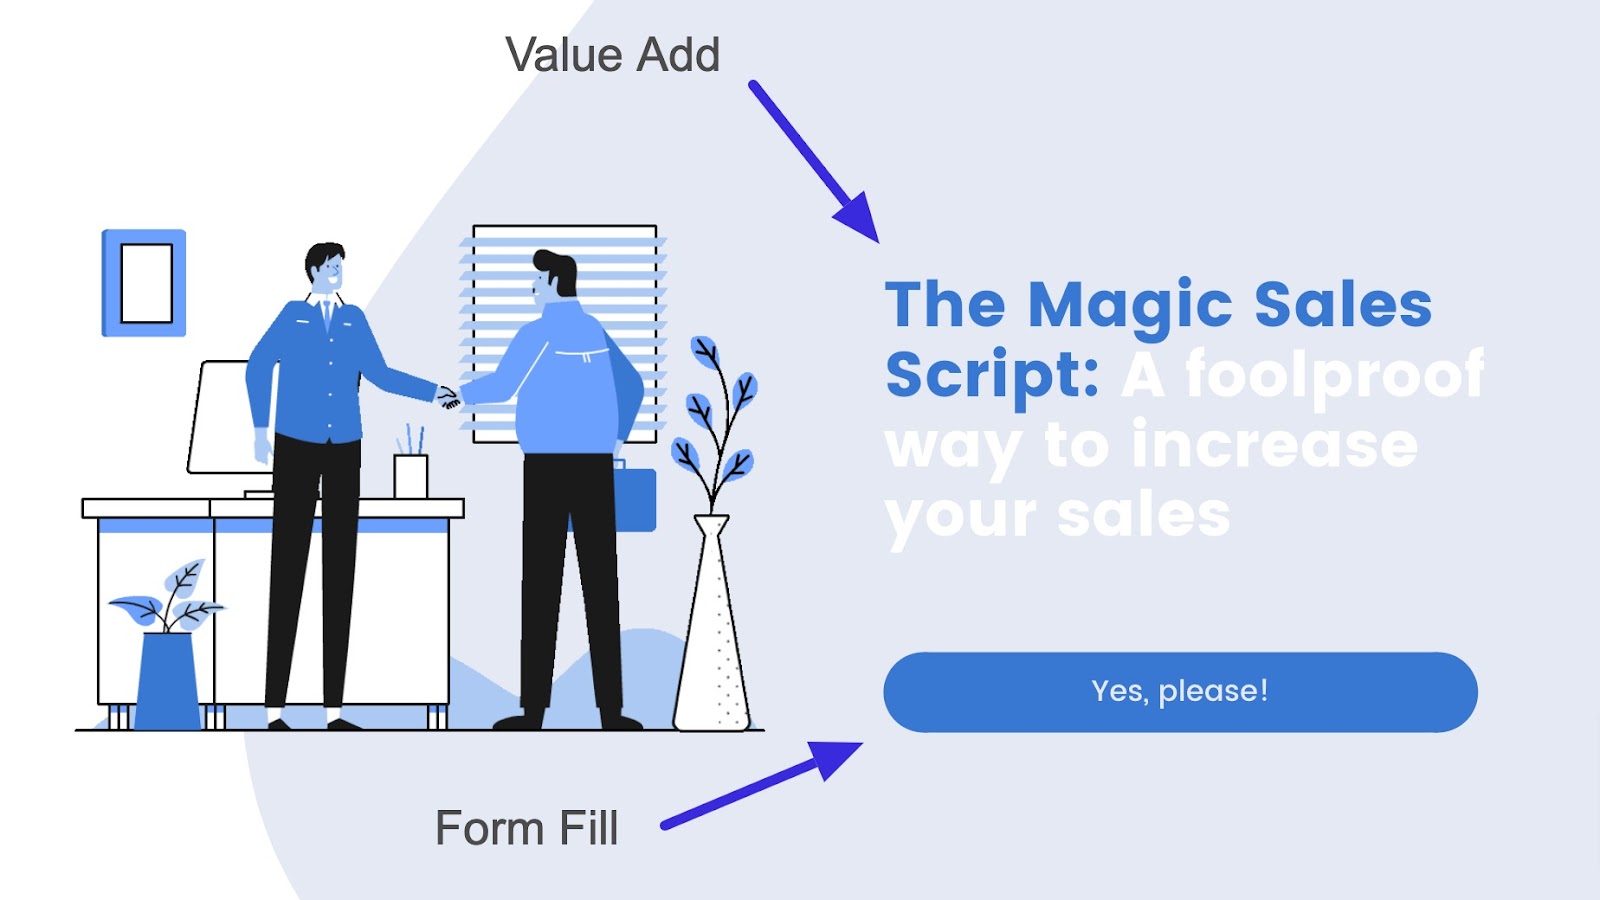
Tempting enough to create interest
Here are a few great examples:
- The Ultimate Opt-in Form Checklist
- 31 Title Hacks: A Cheat Sheet to Writing Blog Posts That Go Viral
- The Magic Sales Script: A Foolproof Way to Increase Your Sales
- The Proven Client Proposal Template
- The Complete Toolkit for Your Website: Everything You Need to Get Started Right Away
- 93 Email Subject Lines That Will Increase Your Open Rates
- Free Excel templates for Small Business: Manage Your Finances Like a Pro
2) Add an opt-in form to your blog post
Once you have created your lead magnet, the next step is to add an opt-in form to your blog post. This form should be short and simple and clarify what readers will get if they enter their information.
Choose a plugin
There are a number of plugins to add an opt-in form to your website.
I recommend using one of the following:
Create your form
Once you have chosen a plugin, you must create your form. This process will vary depending on which plugin you choose. Still, it will generally include the following steps:
1) Name your form
2) Choose the type of form you want to create
3) Select the fields you want to include in your form
4) Design your form